I have a single panel to which I can apply the “mesh_circular_alpha.jpg” texture. I want to get a perforated sheet.
the panel is a single surface and the texture is applied over the entire surface, while I want the texture to be applied only to some areas of the surface.
How can I divide the panel into well-defined areas so as to apply the texture only to the areas of interest to me?
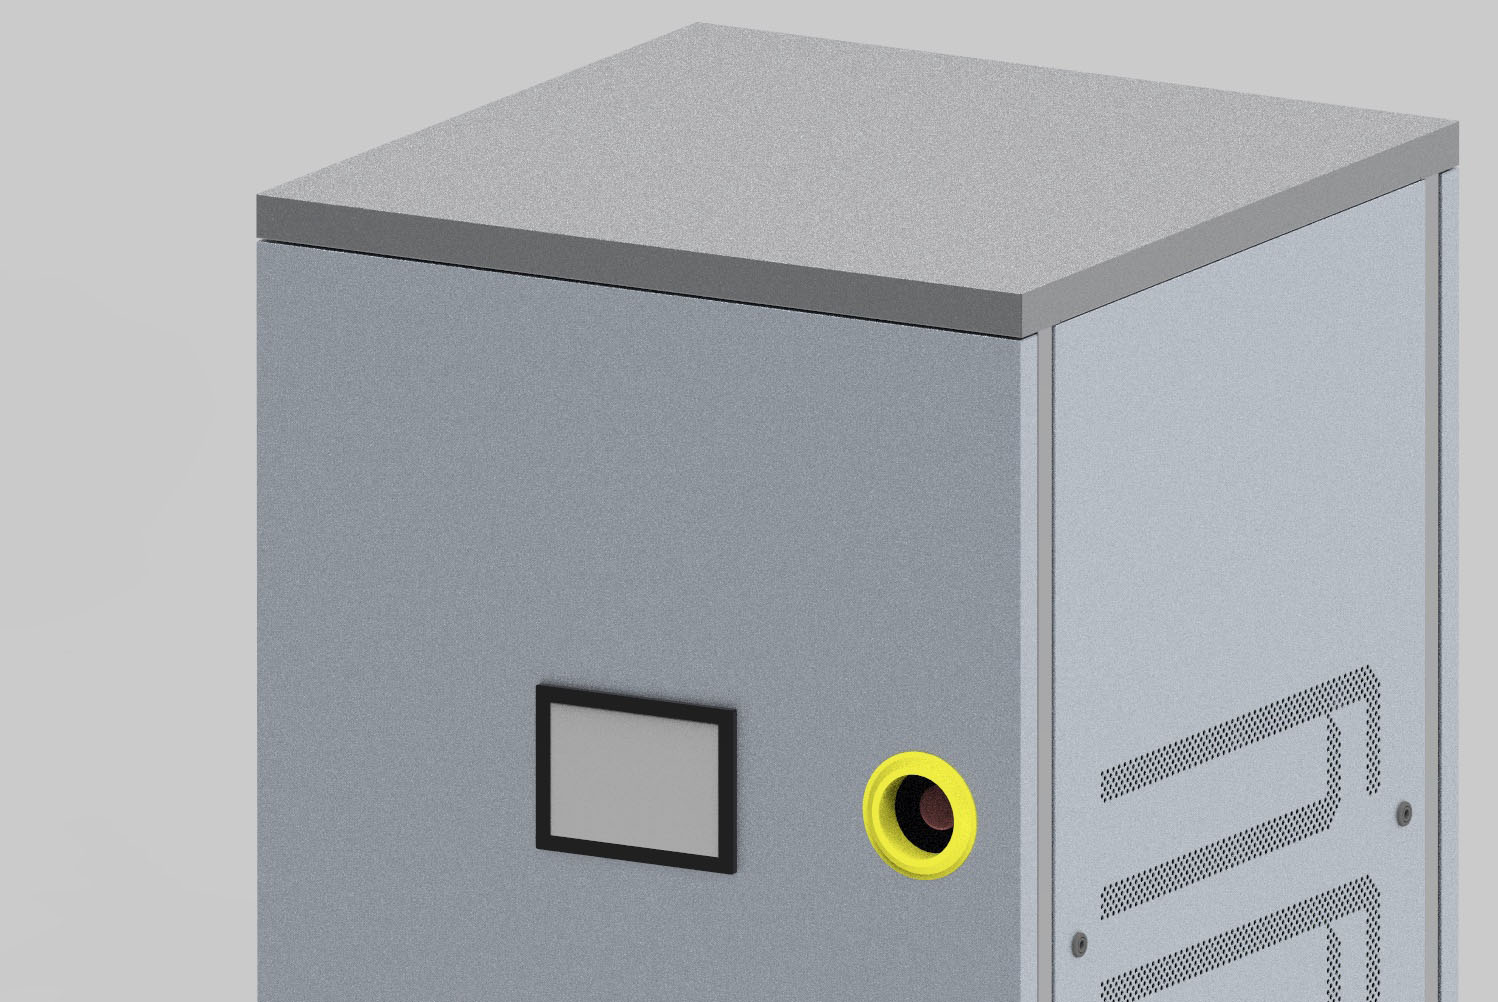
- the starting condition is represented by the file 01-rack-panel-before-mesh.jpg
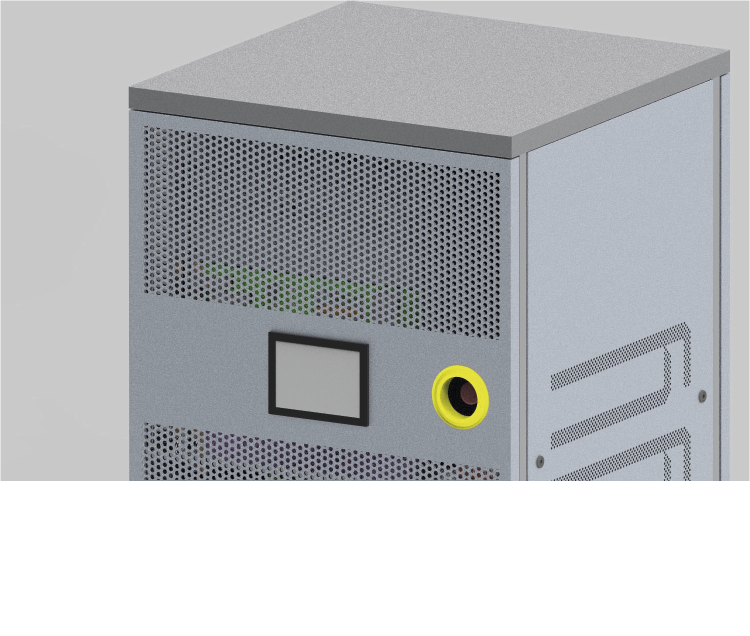
- the arrival condition is represented by the 03-required-panel.png file
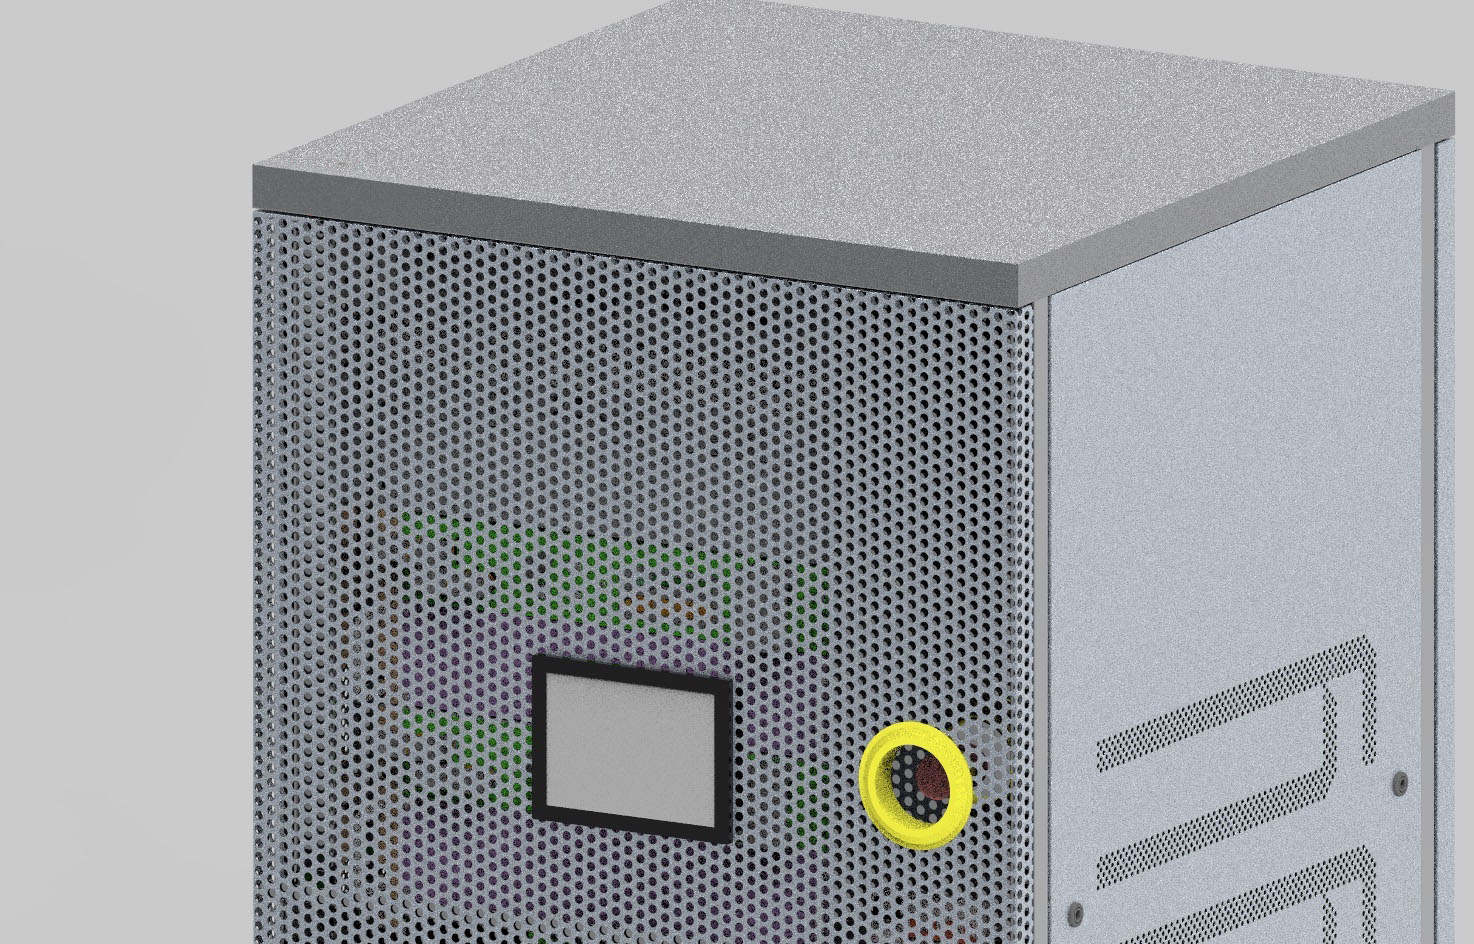
the 02-rack-panel-after-mesh.jpg file represents the effect I get if I apply the texture to the panel.
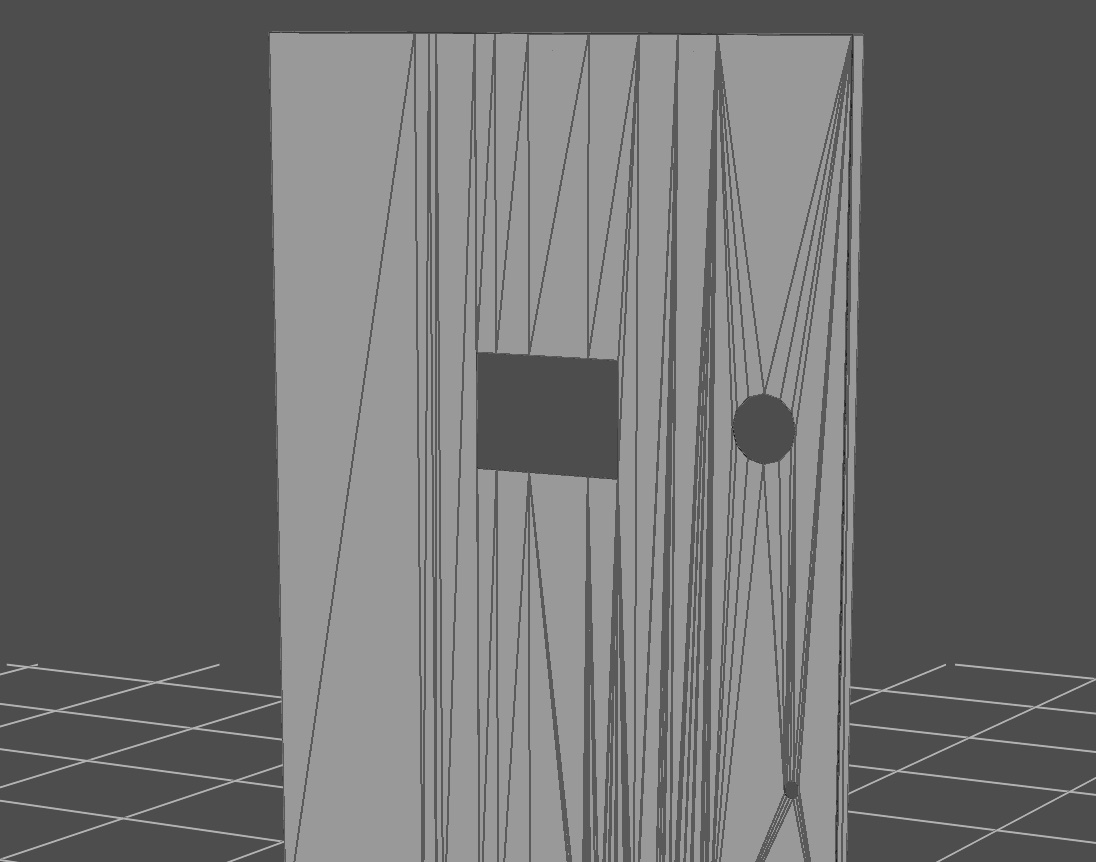
the screen-03.jpg file shows the panel surface at this time.
what I would like to know is how to divide the panel surface in order to obtain the result shown in the 03-required-panel.png file.
Thanks to anyone who wants to help me.
hello Milko,
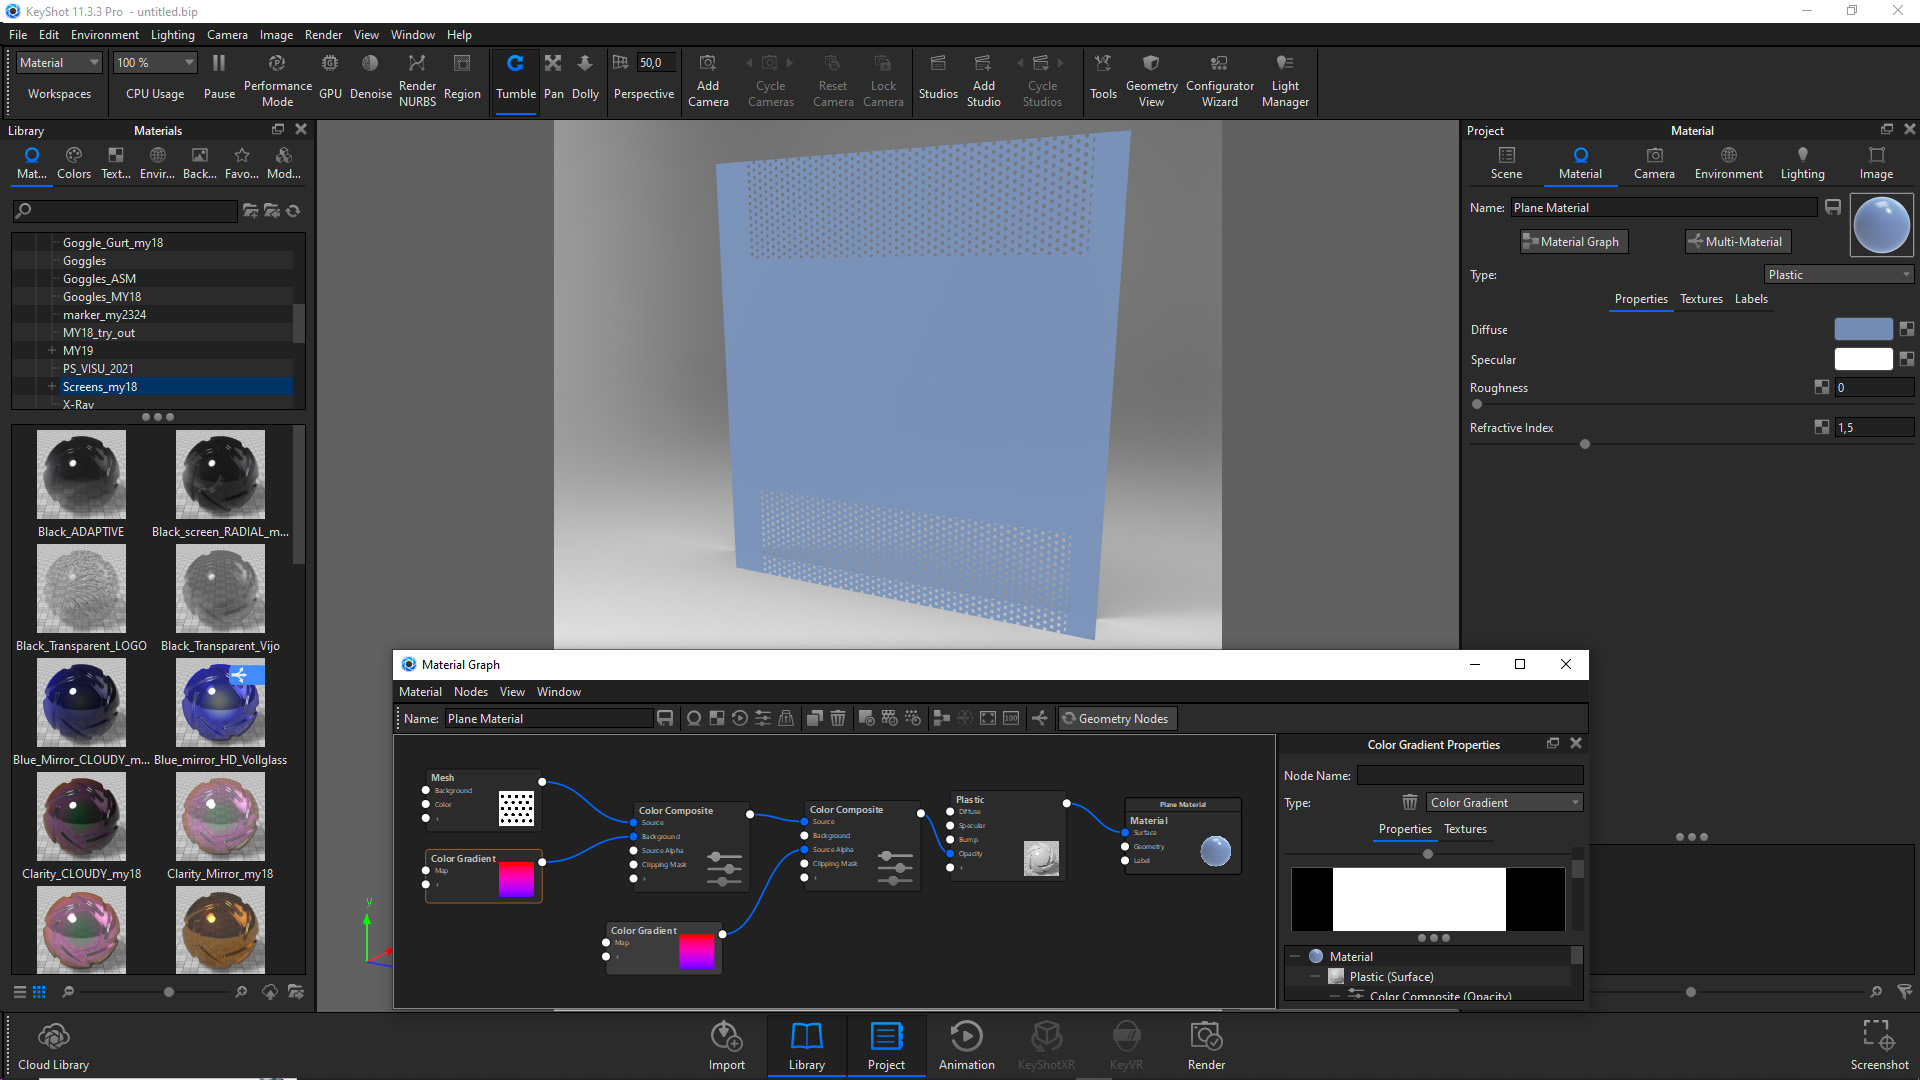
you can actually mask the texture you are appling (in this case the dots).
I recreated the dots using the mesh texture in Keyshot. The masking than can be done with a color gradient (turn off “Blend”). Use “move texture” to place the mask.
Combine the mask and the texture with the Color Composite node.
As to my knowledge, there is no way within Keyshot to split the surface in a way you want with the geometry you imported.
Please notice, that, if you do it this way, you get half cut dots.
If you want to do that properly, you would have to create an exact graphic (i.e. in PS) generate the UVs of that front panel in Keyshot and apply the graphics accordingly.
regards
designgestalt
3 Likes
As addition to what Dirk mentioned, if you want to make an exact graphic it’s not that hard. Put the camera as isometric and select the right view. This way you won’t have distortion/perspective.
Than create a simple screenshot and use that as a guide in Photoshop/Illustrator or whatever you want to use to create the mesh. When done right you can just use it as a planar mesh with repeat off on the side you want the mesh to appear. I use this quite often since it saves me from doing an UV-map and you’ll know it fits.
If you also created the model you can also just slice the panel twice and use different materials, one with the mesh and one without.
1 Like
I love this community.
Thx as always Oscar
and really thx to Dirk who decided to post for the first time helping me.
ps: I haven’t experimented with the “Material Graph” yet; I have to apply myself.
Also, for future reference, the procedural mesh texture is super flexible and comes with a few benefits over an image-based texture. You can adjust this to behave as you want. You can create falloff so the cut-outs aren’t super sharp and modify the hole pattern. You’d just need to split that surface into 2 separate parts, that way you can use two instances of the mesh procedural. There may be a way to do it without splitting, but it’s a bit weird and complicated. mesh procedual.m4v (5.8 MB)
1 Like